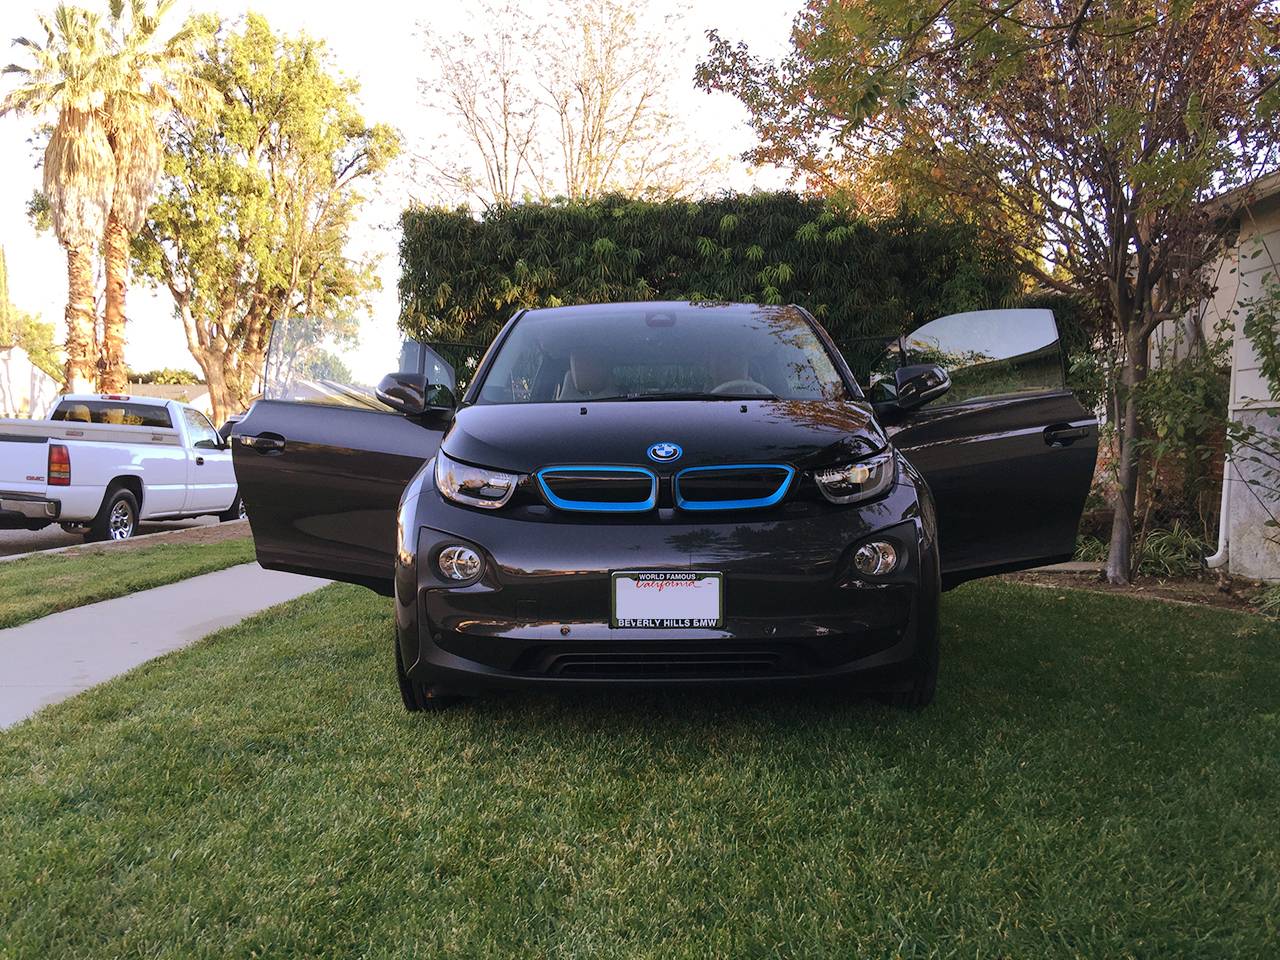
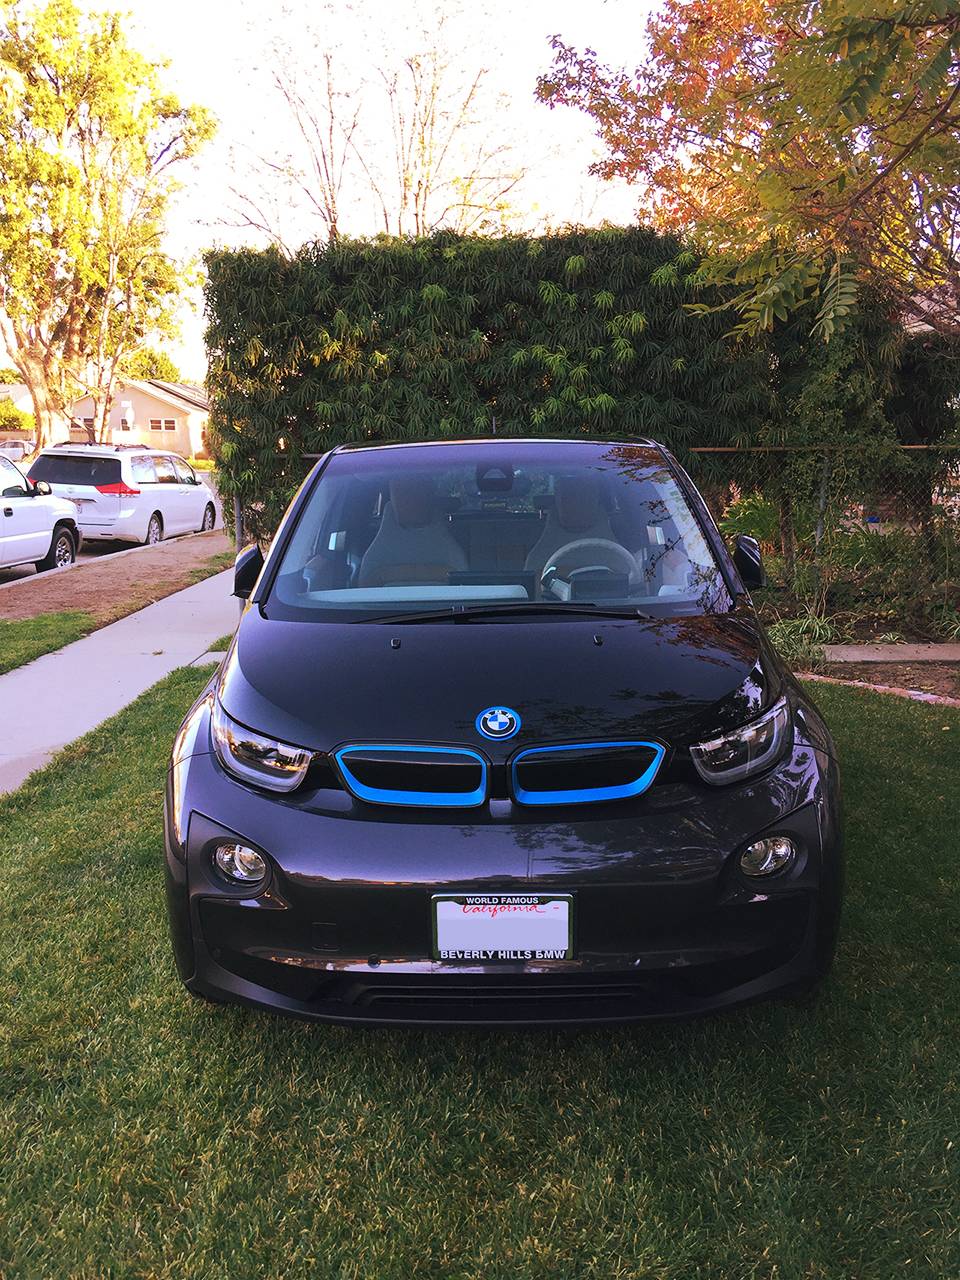
I've always found the chrome/satin grilles to be ill-fitting to the laurel grey i3 considering they are the only silver trim bits on the exterior of the vehicle. Fortunately, you they can be easily removable and wrapped in gloss black vinyl. Here's how.
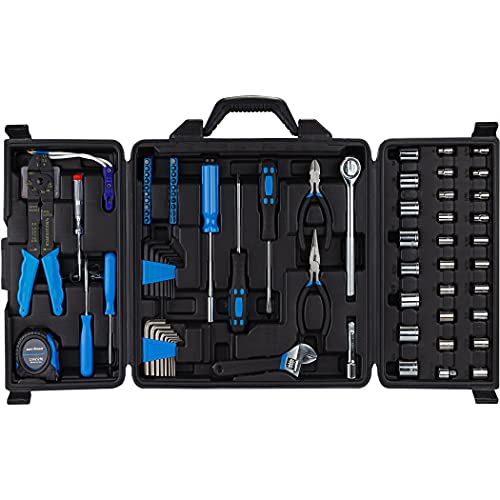
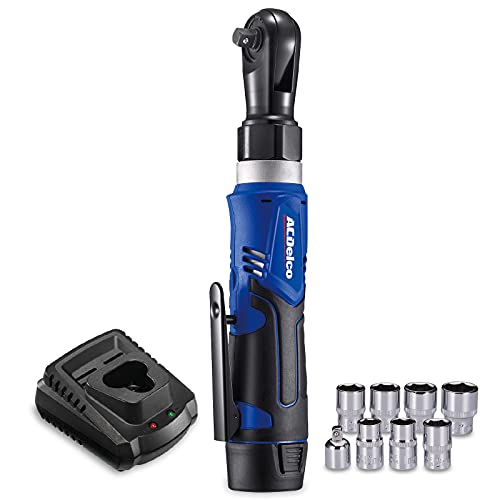
First, begin by removing the four torx bits holding each grille under the hood. Three are located on the lower edge of the grill and the fourth on the upper center. Once removed, the grilles are held in place by adhesive. Begin by pulling on one edge until the grille starts to un-adhere to the hood. This takes some effort. I found it easier to leverage the grilles with the hood in the closed position.
Once removed, the grilles themselves are a two piece construction. They are separated by clips. Undo these and you will have your frozen blue and satin silver piece.

Clean the grilles. Once dry, begin by applying your vinyl. This takes time. I found it best to lay the vinyl flay and press the grille into the vinyl. Apply heat and mold the vinyl to the contours of the grille.

Installation is the reverse of the removal. I opted not to apply more adhesive as the 4 torx screws firmly hold the grilles in place.
First, begin by removing the four torx bits holding each grille under the hood. Three are located on the lower edge of the grill and the fourth on the upper center. Once removed, the grilles are held in place by adhesive. Begin by pulling on one edge until the grille starts to un-adhere to the hood. This takes some effort. I found it easier to leverage the grilles with the hood in the closed position.
Once removed, the grilles themselves are a two piece construction. They are separated by clips. Undo these and you will have your frozen blue and satin silver piece.
Clean the grilles. Once dry, begin by applying your vinyl. This takes time. I found it best to lay the vinyl flay and press the grille into the vinyl. Apply heat and mold the vinyl to the contours of the grille.
Installation is the reverse of the removal. I opted not to apply more adhesive as the 4 torx screws firmly hold the grilles in place.


![Homtronics Electric Spin Scrubber, [IPX7 Waterproof ] [50KG Torque] Shower Scrubber with 9 Brush Heads, 2 Speed Mode, 4 Adjustable Angles, Electric Brush for Cleaning for Bathroom Floor Tile](https://m.media-amazon.com/images/I/51ZmvOIf5nL._SL500_.jpg)